Last Updated on March 1, 2018
Hi and welcome to another tutorial from Codingdemos, today you will learn how to create Android assets folder inside Android Studio. You can use assets folder to add fonts that you can use it in your app.
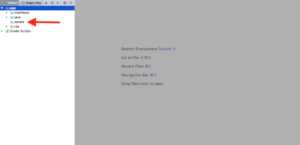
By the end of this tutorial, you will have Android assets folder. (Large preview)
In this tutorial we will be using the following:
– Android studio version 3.0.1
1- Open up Android Studio and open any project that you have in your computer.

Create new Android Studio project or open existing project. (Large preview)
2- Select app folder, right-click on it and choose New.
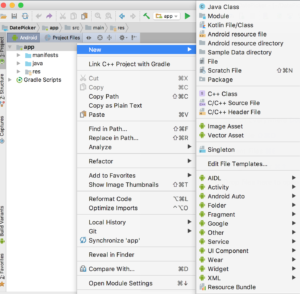
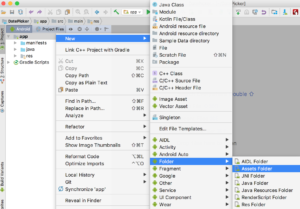
3- Now hover your mouse over Folder menu item and choose Assets Folder.
4- You will see a dialog box named New Android Component appears in Android Studio.
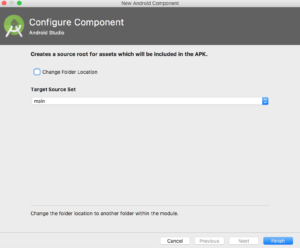
Android Studio Android component dialog box. (Large preview)
5- You click on Finish and Android Studio will create an assets folder in your project.
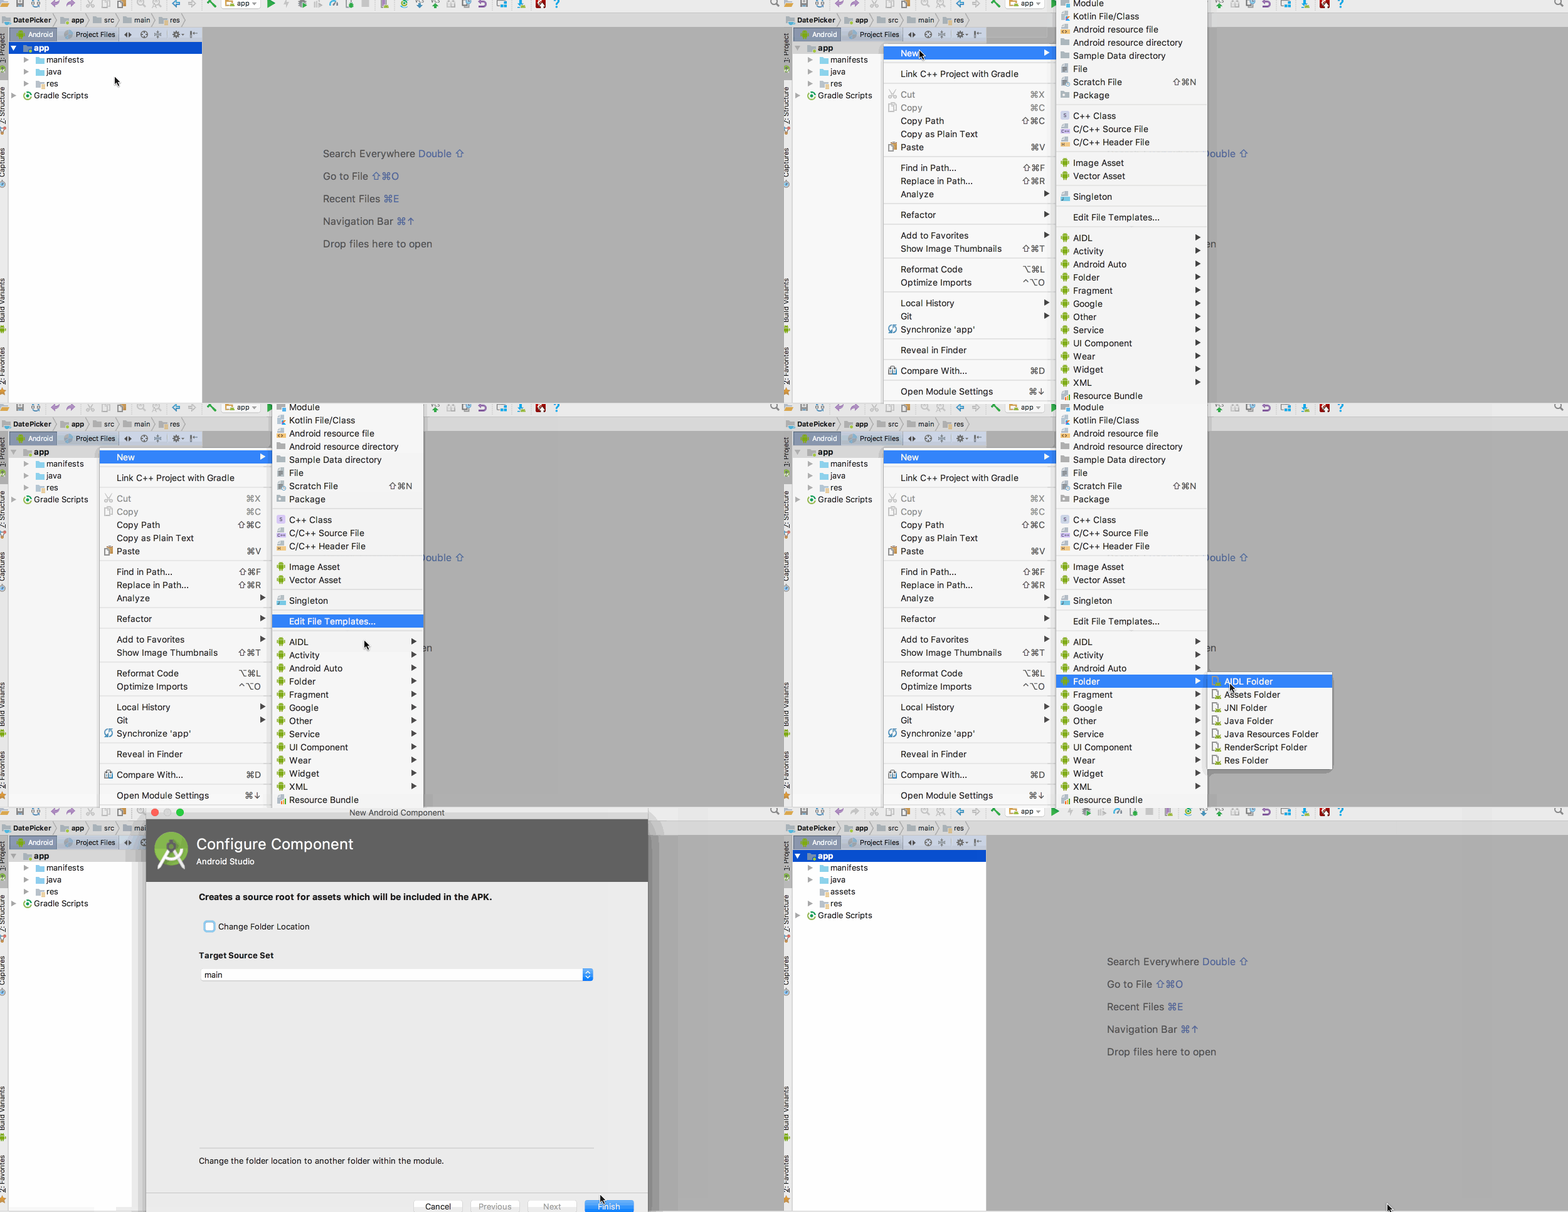
Create asset folder in Android Studio. (Large preview)
6- I hope you find this tutorial helpful and if you have any question please post them in the comment below.
